Sapphire and diamond circle pendants

Following on from my last post I thought I’d show you how the circle pendants come to be. Truly it is a collaborative process, with client input vital to the finished design.

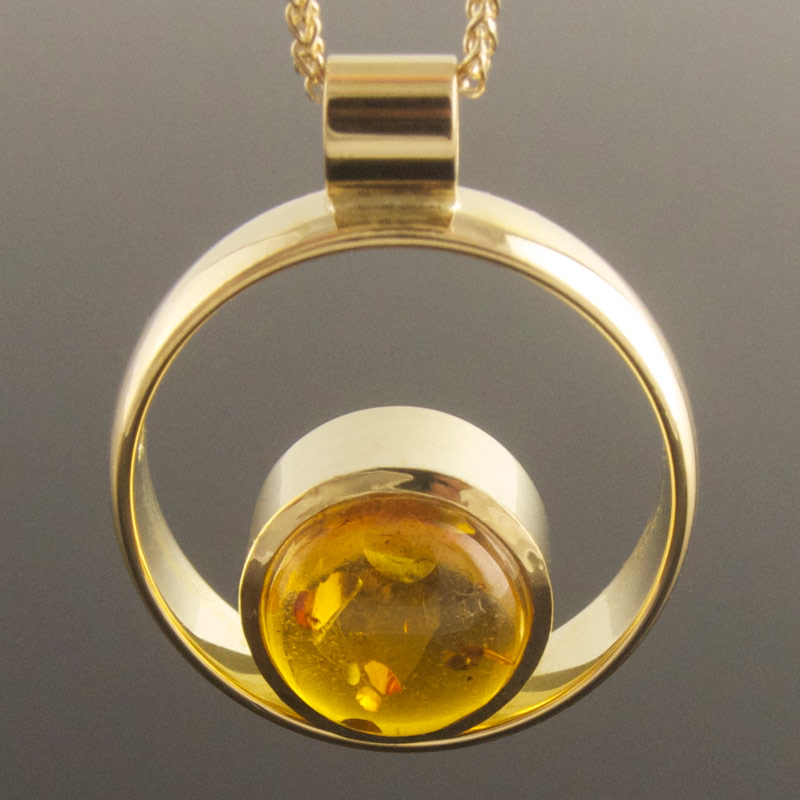
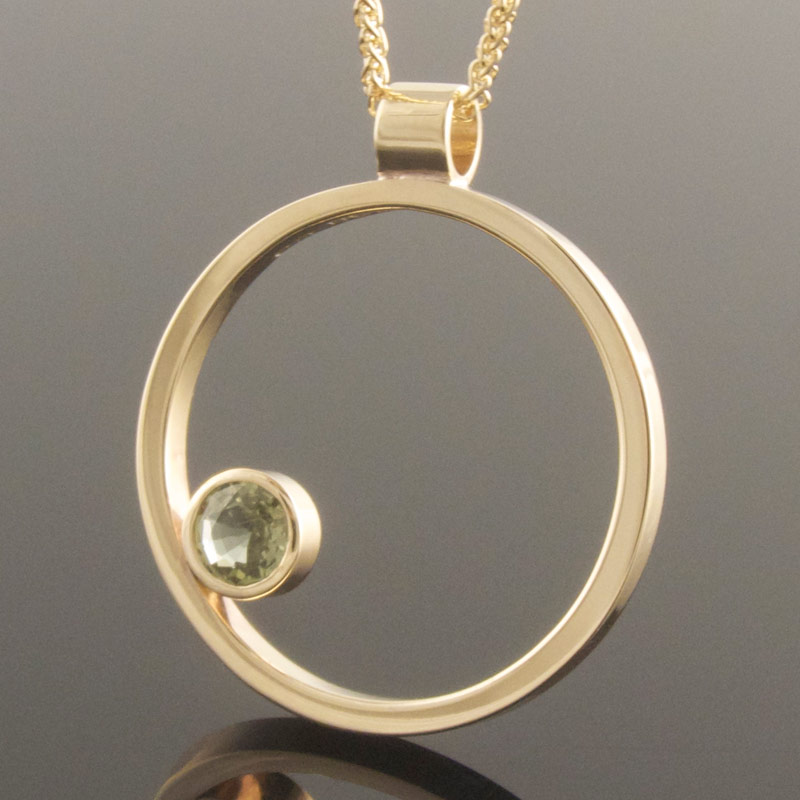
It’s not unusual for me to have a number of projects on the go at a given moment and so some pieces and people are linked in my mind though they may have never met. This is true of Sue and Gillian and their two recycled yellow gold circle pendants.

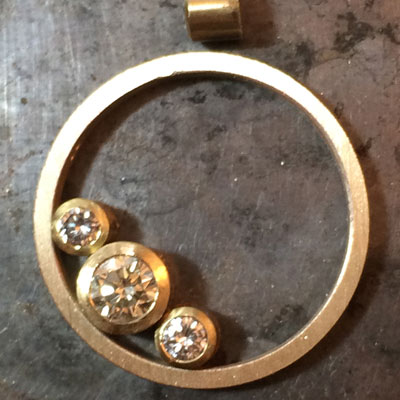
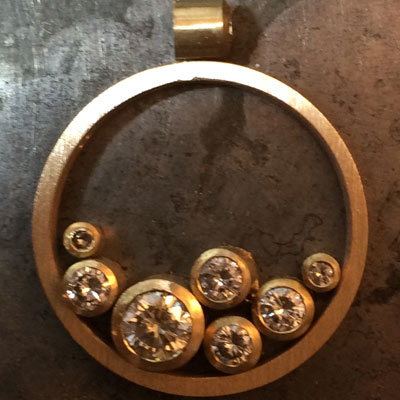
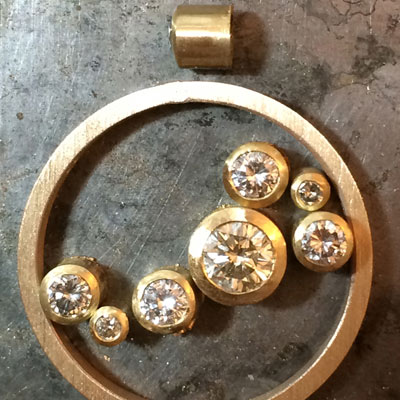
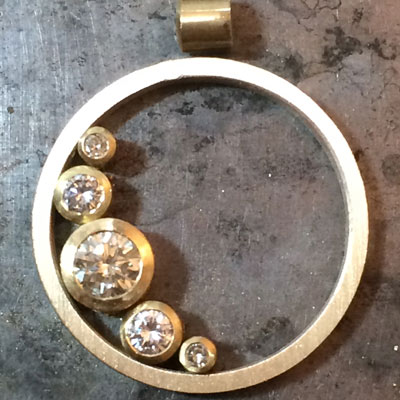
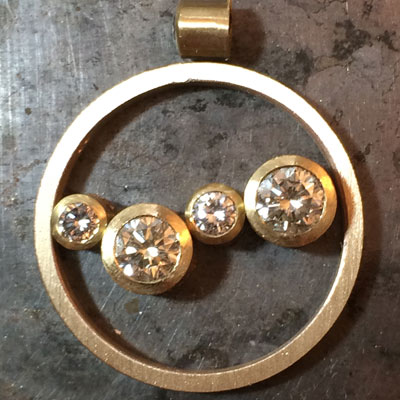
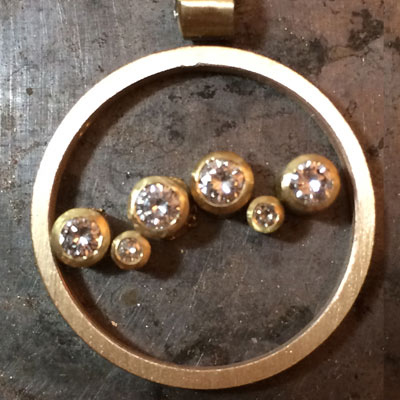
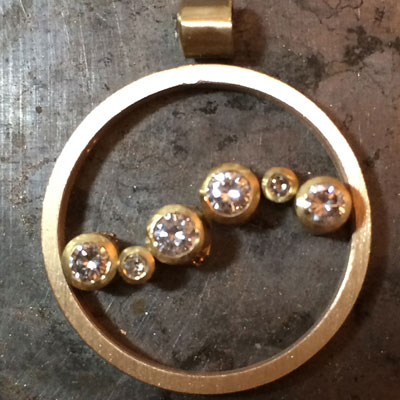
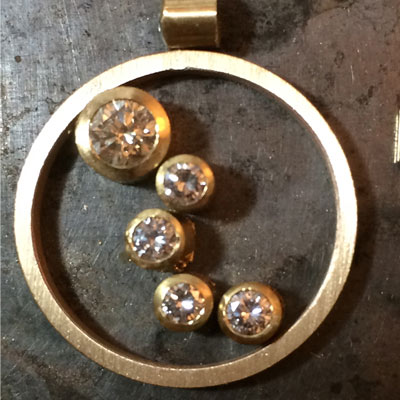
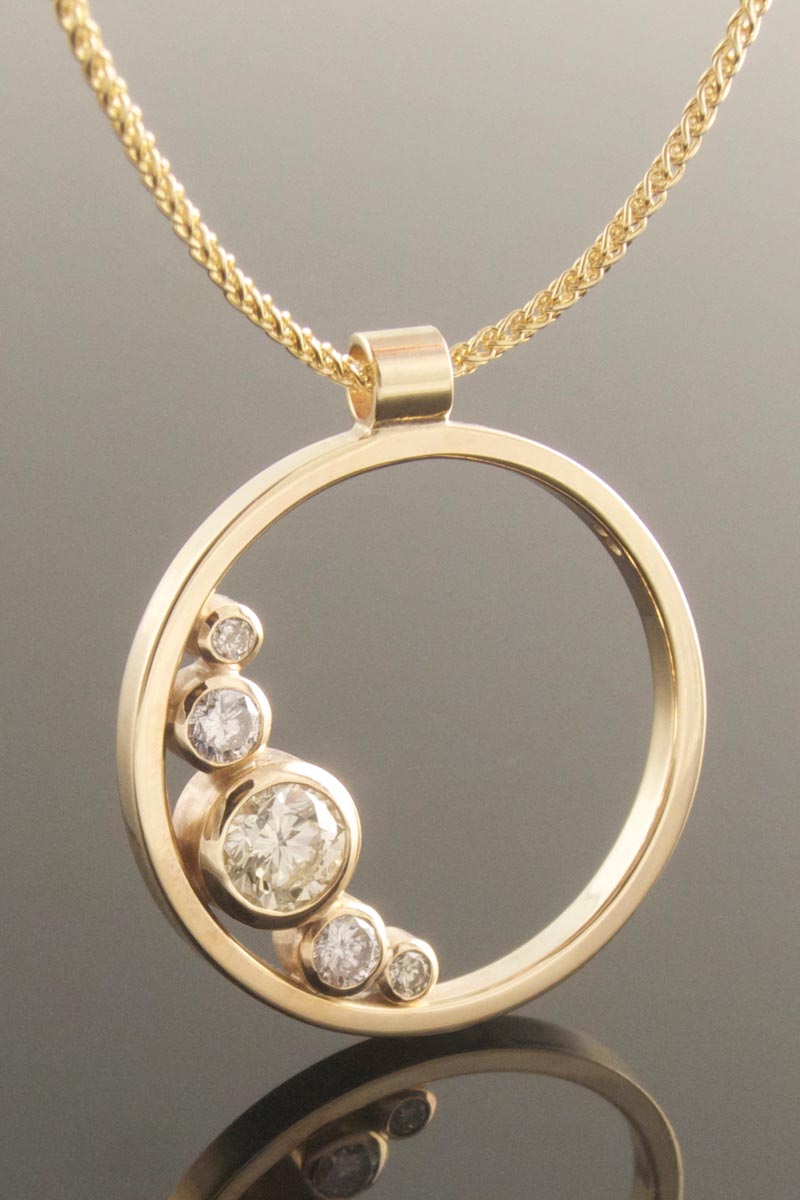
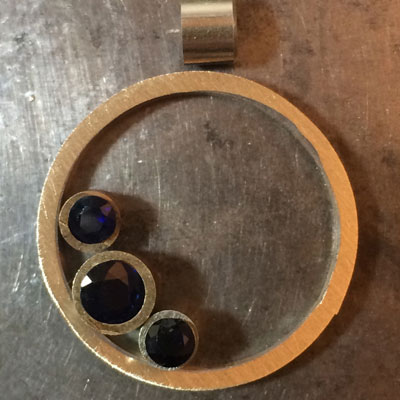
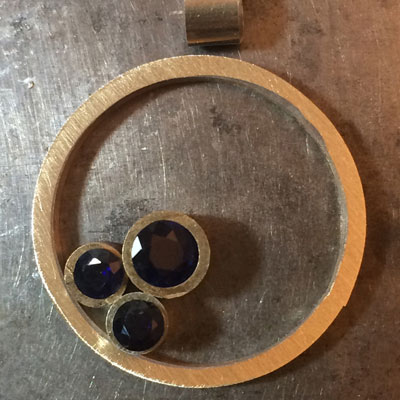
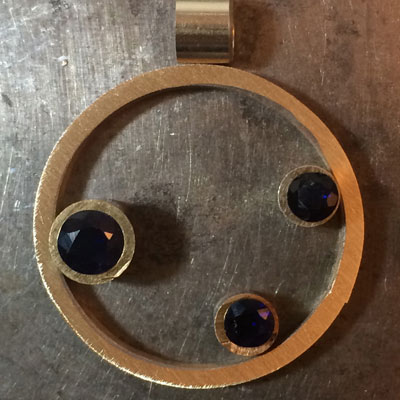
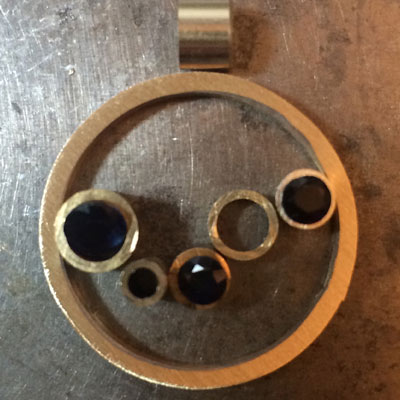
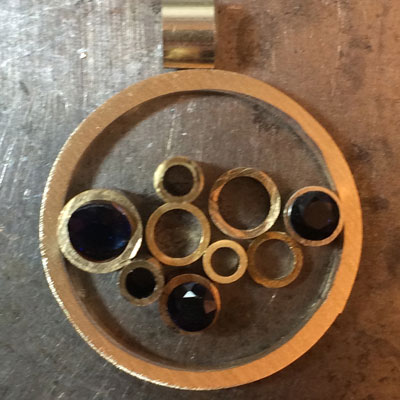
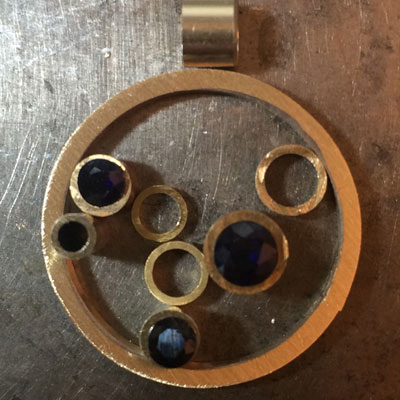
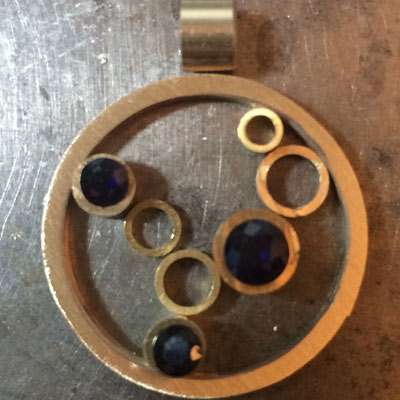
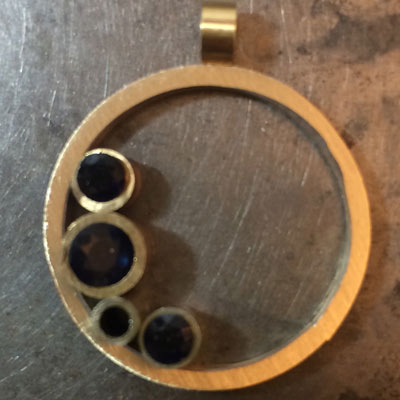
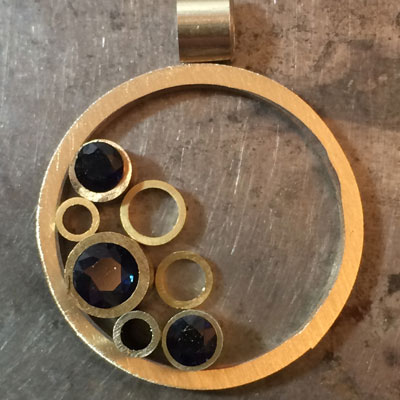
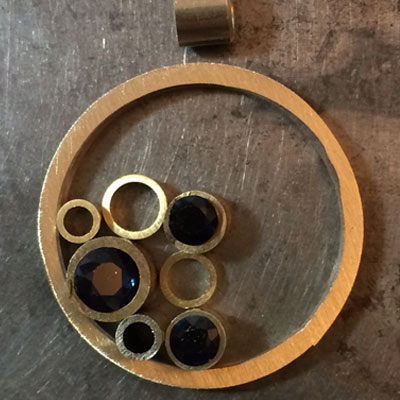
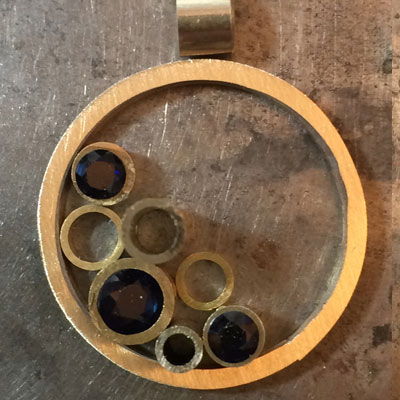
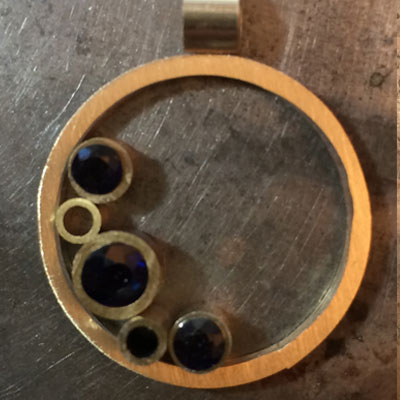
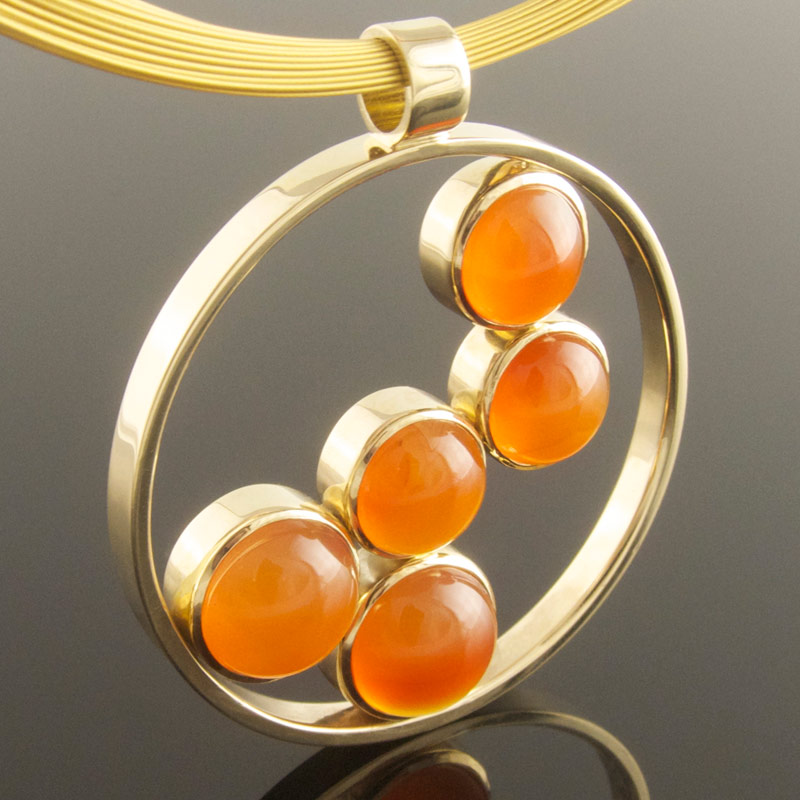
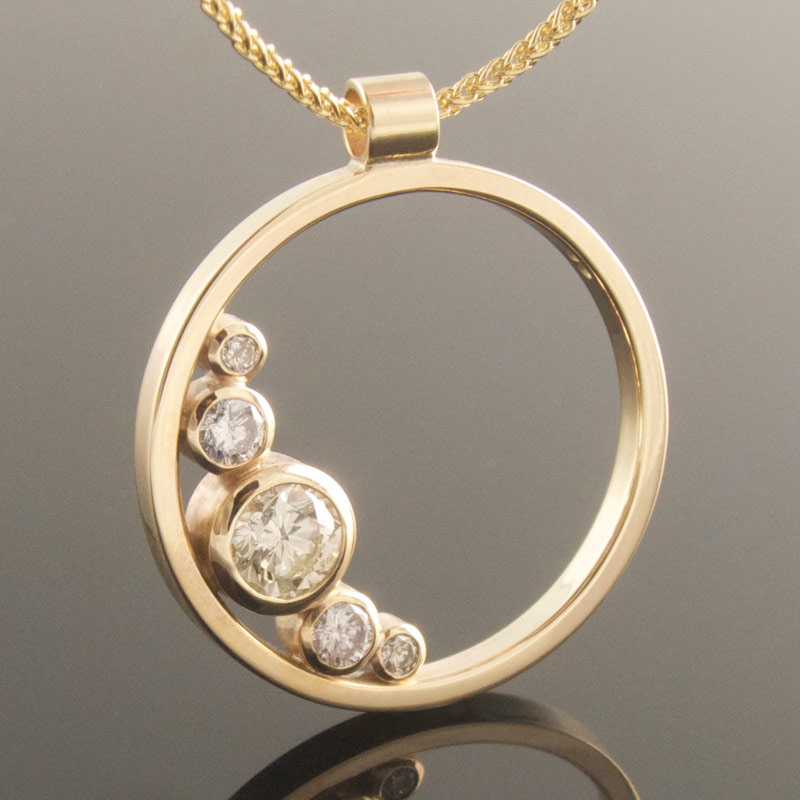
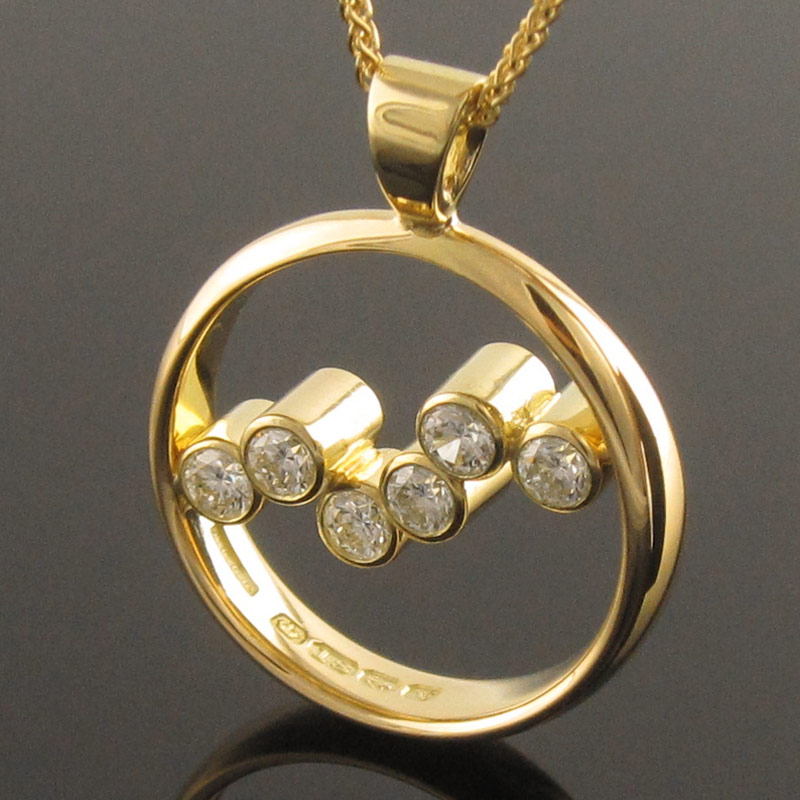
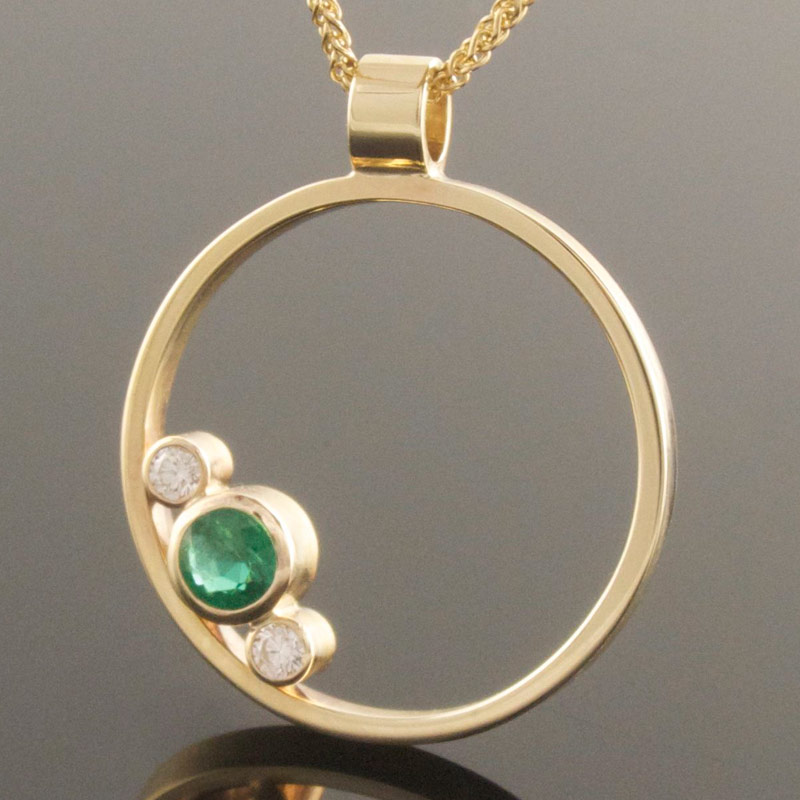
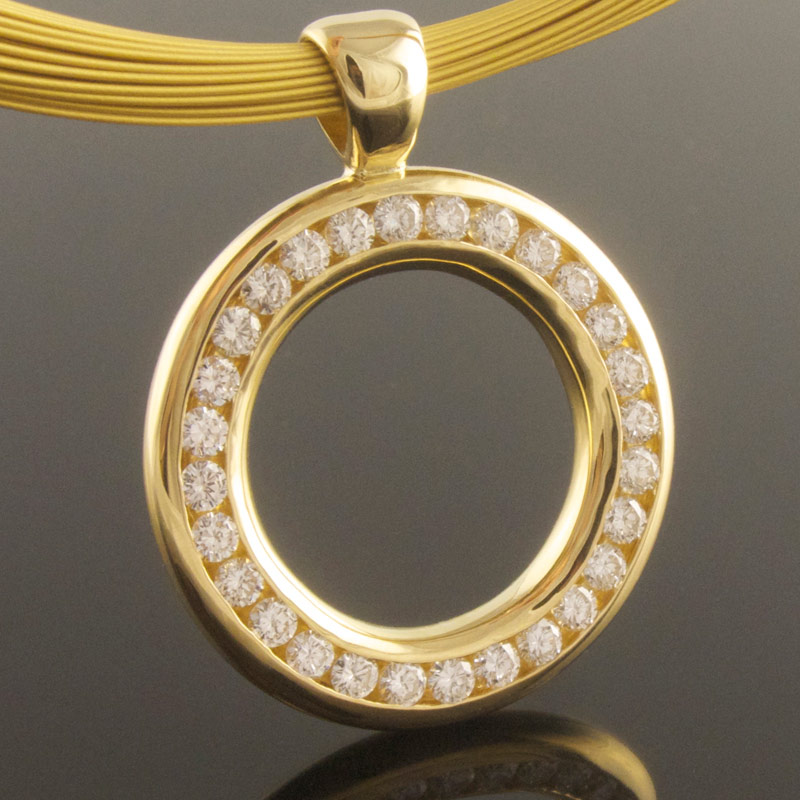
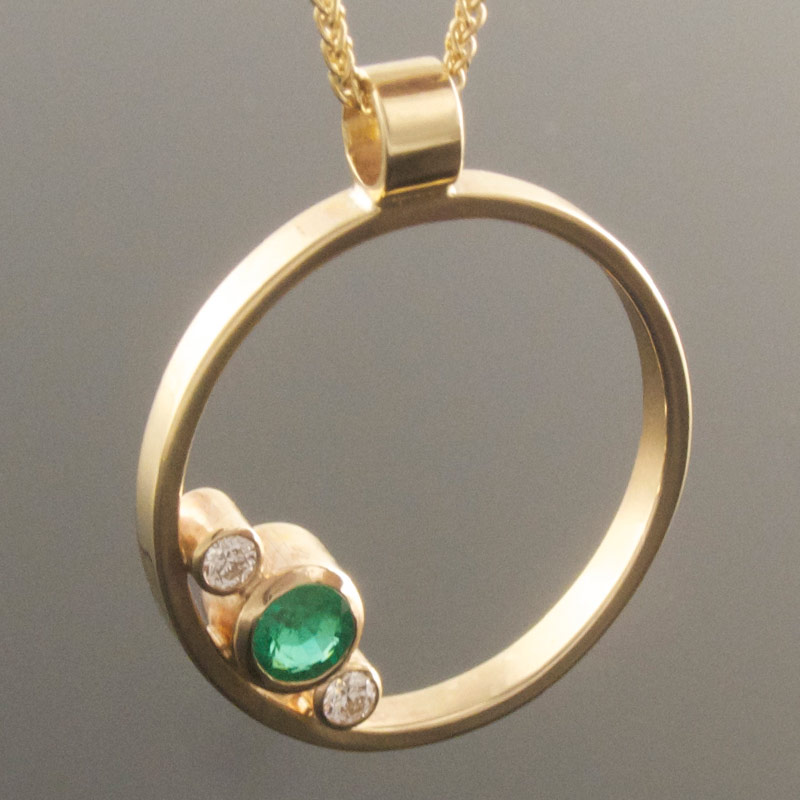
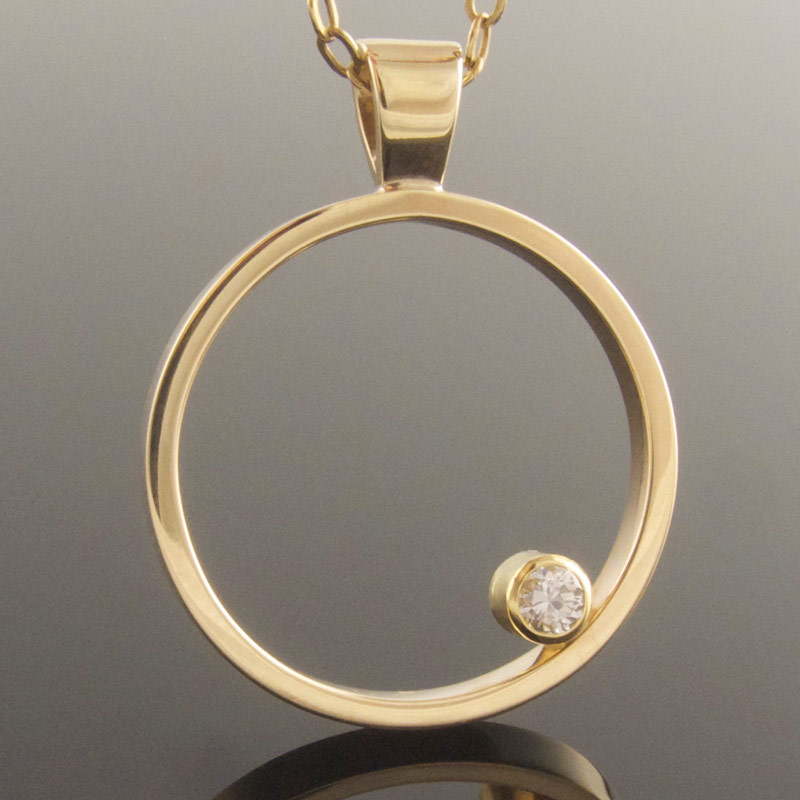
Below you can see a variety of possible configurations from which Sue chose her elegant diamond circle pendant. You may even notice that I had more diamonds than made it to the final design, but Sue was also having a bunch of stacking rings made, so I preset the lot in yellow gold tube and had a play to see what might go where. The winner was this simple five stone graduating style with a little asymmetry thrown in for good measure.

Recycled yellow gold and diamond circle pendant

Recycled yellow gold and diamond circle pendant

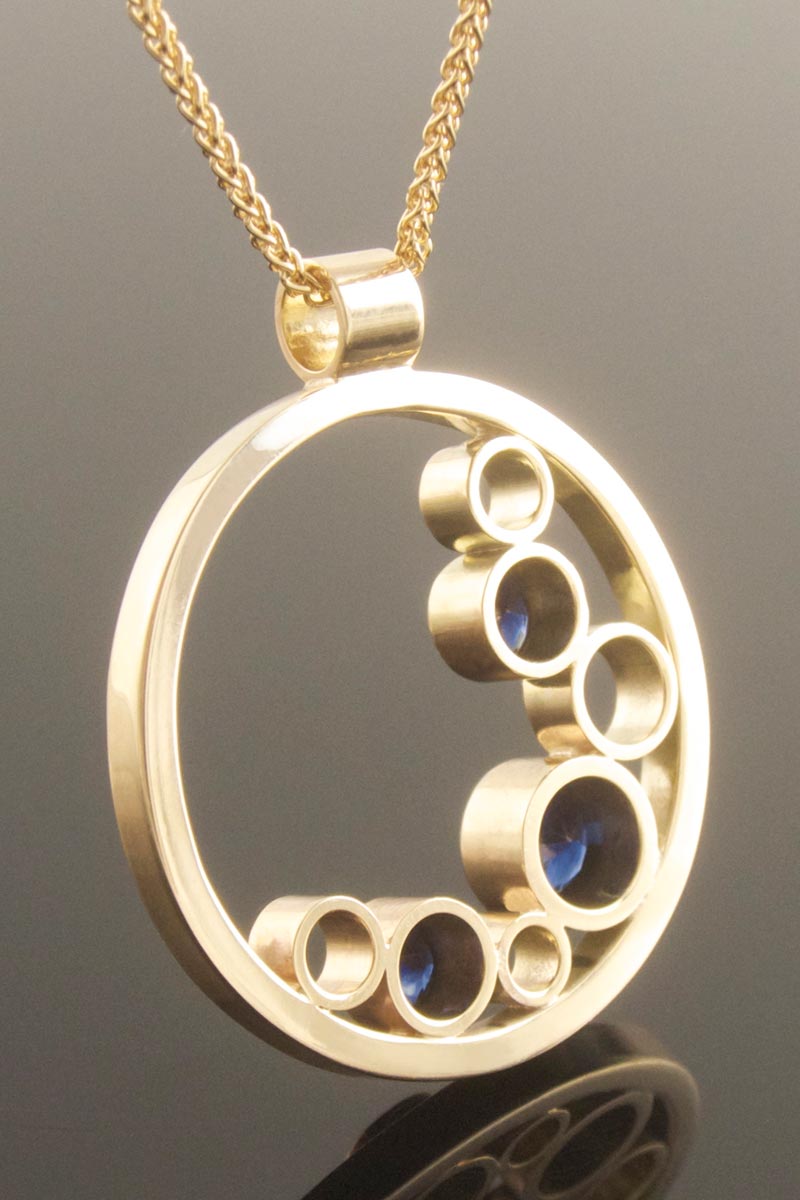
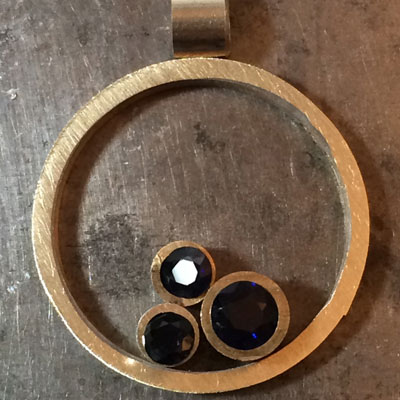
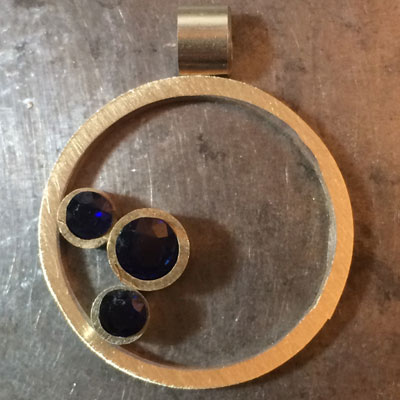
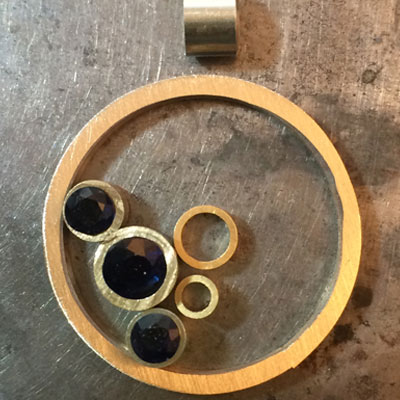
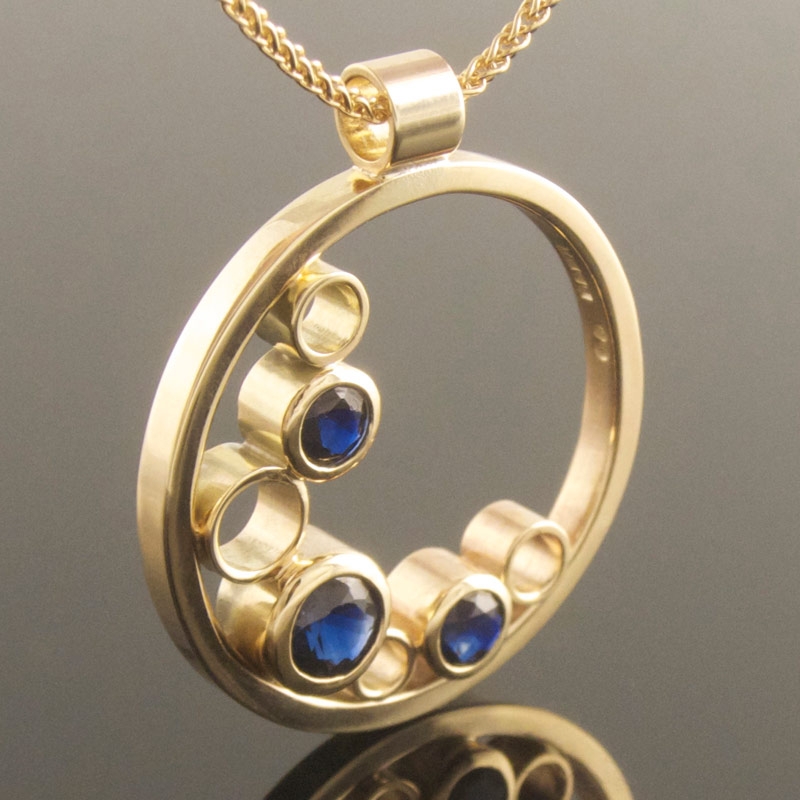
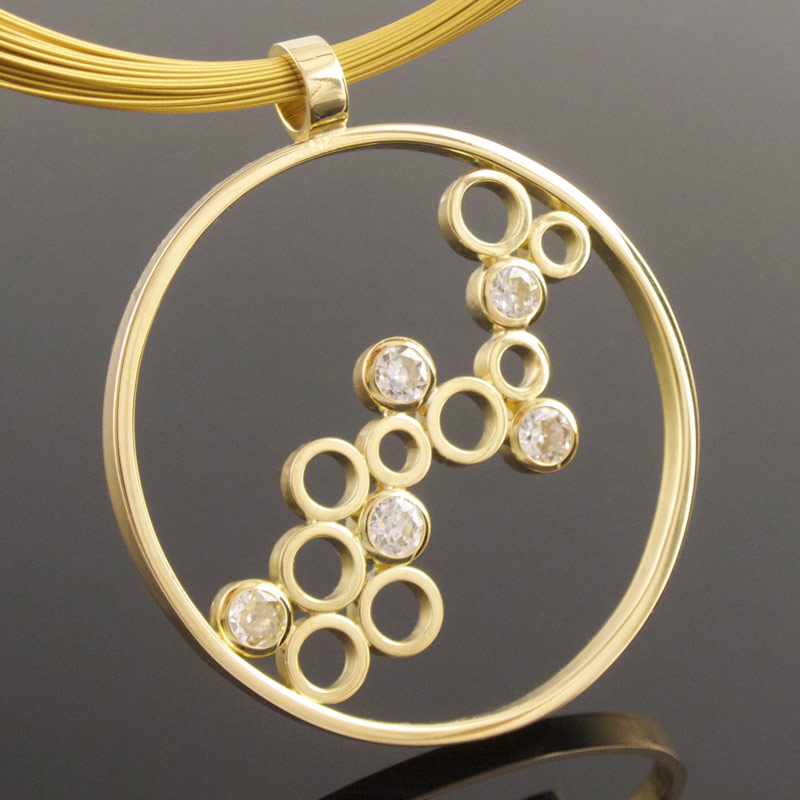
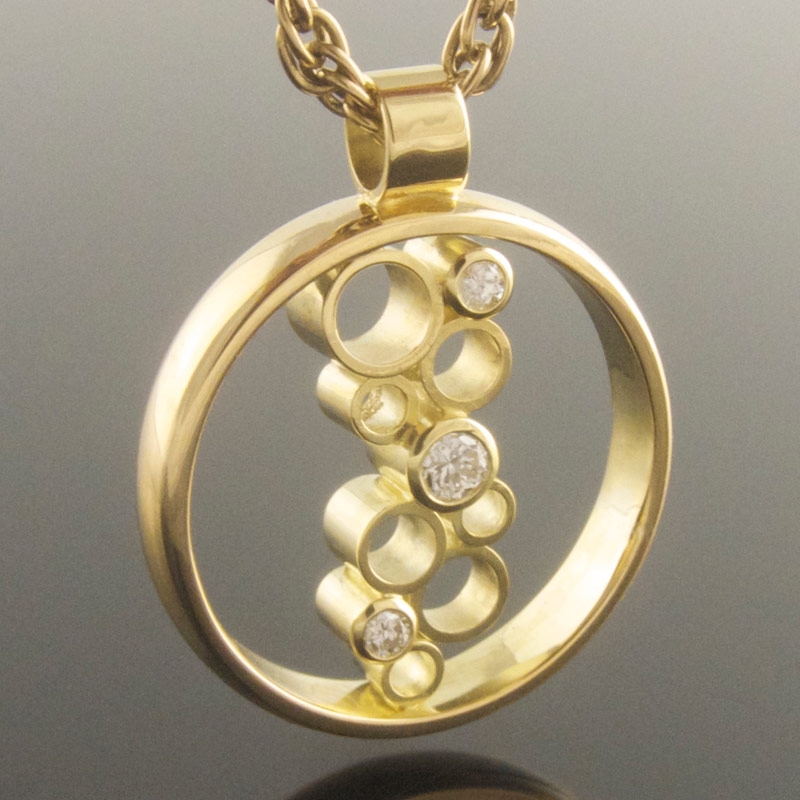
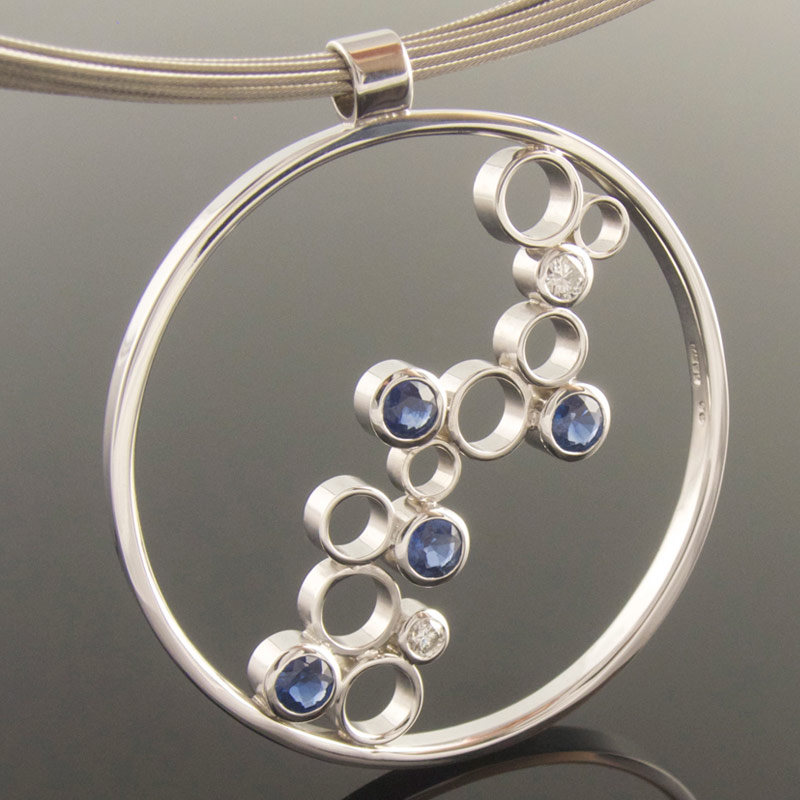
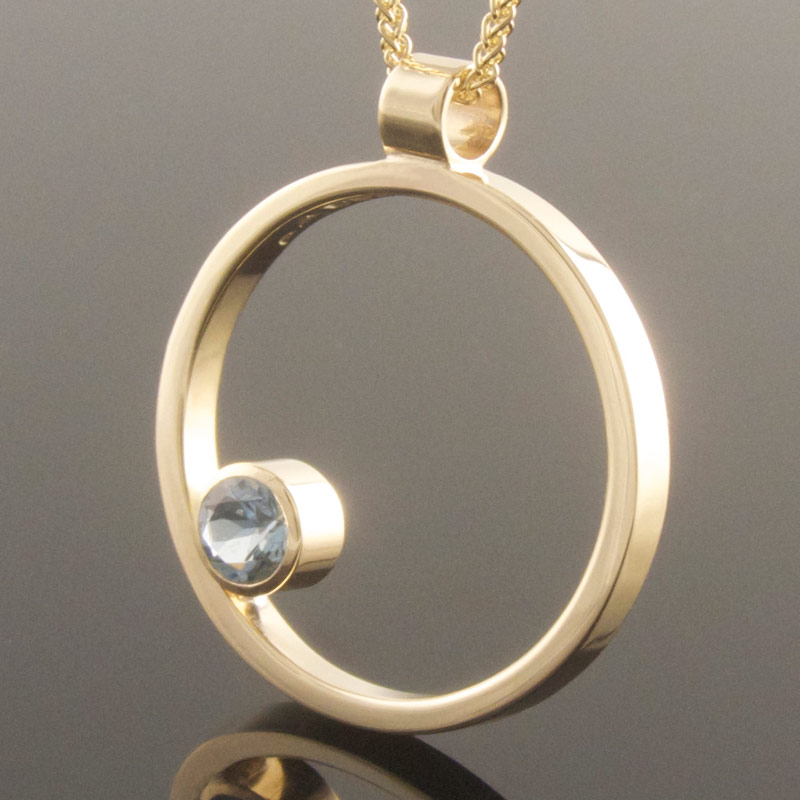
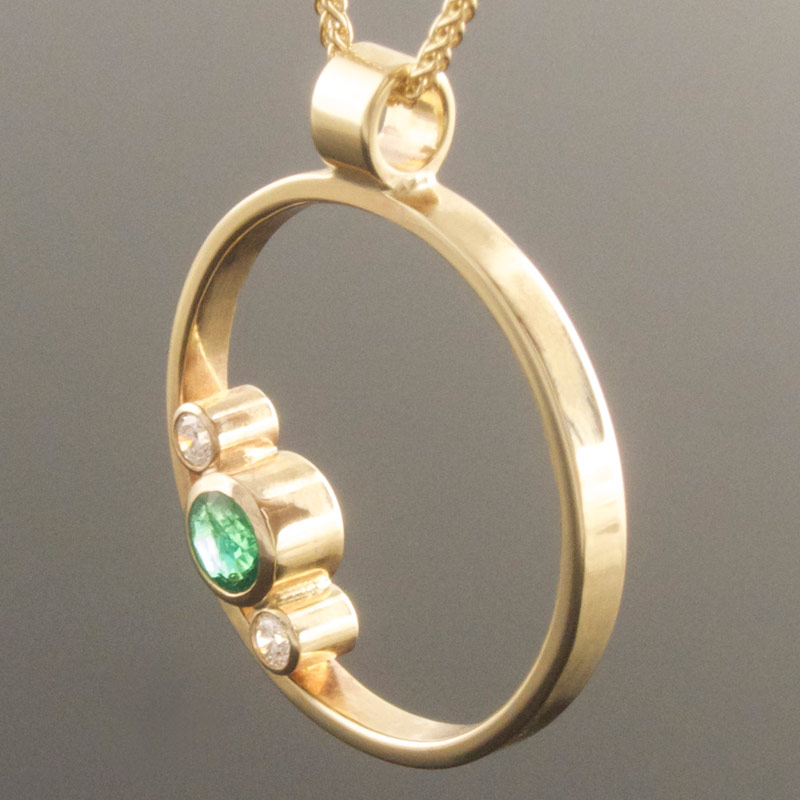
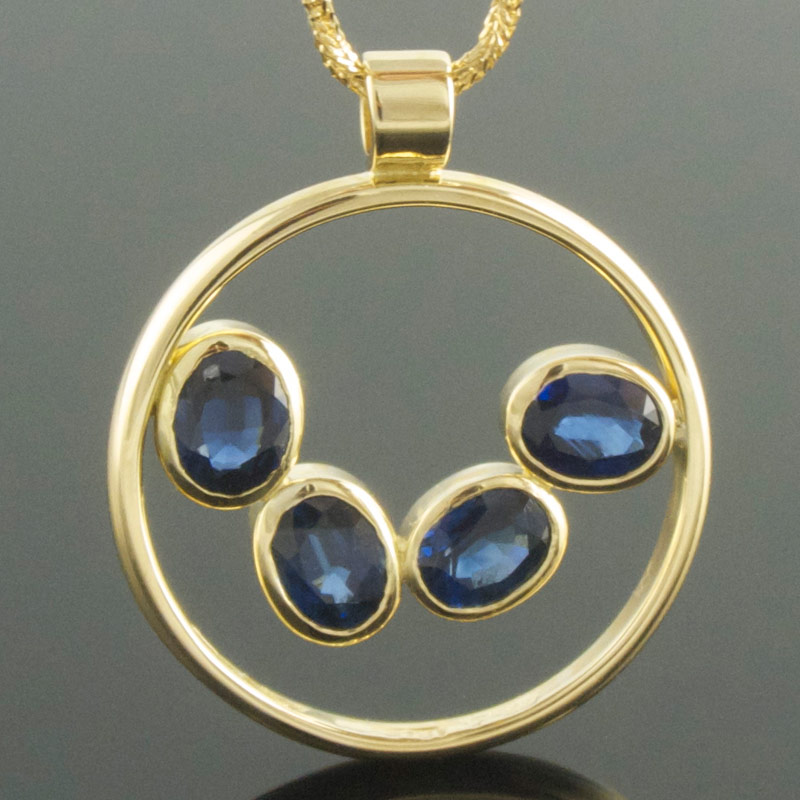
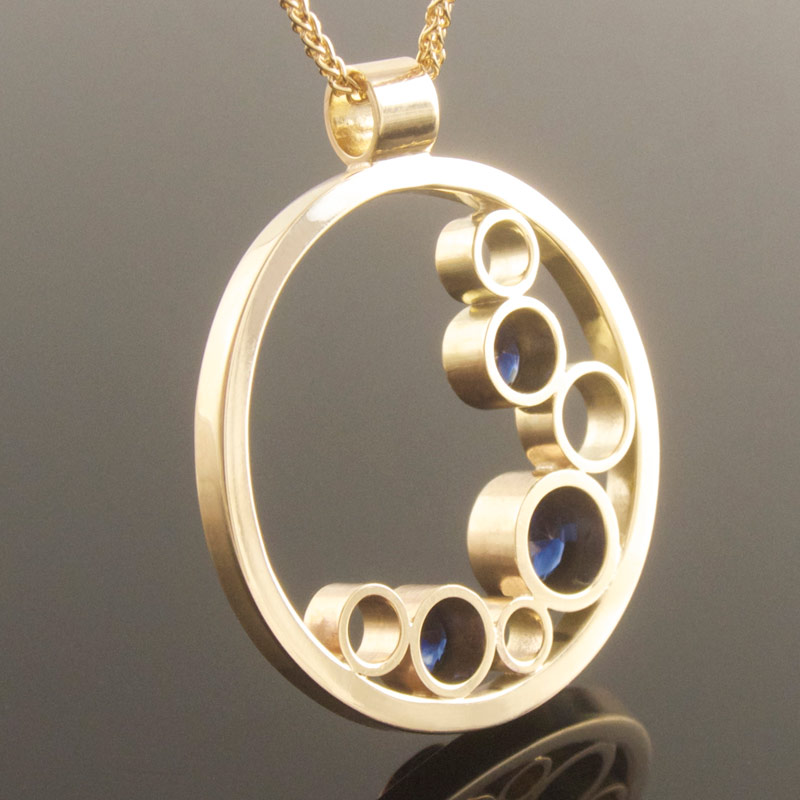
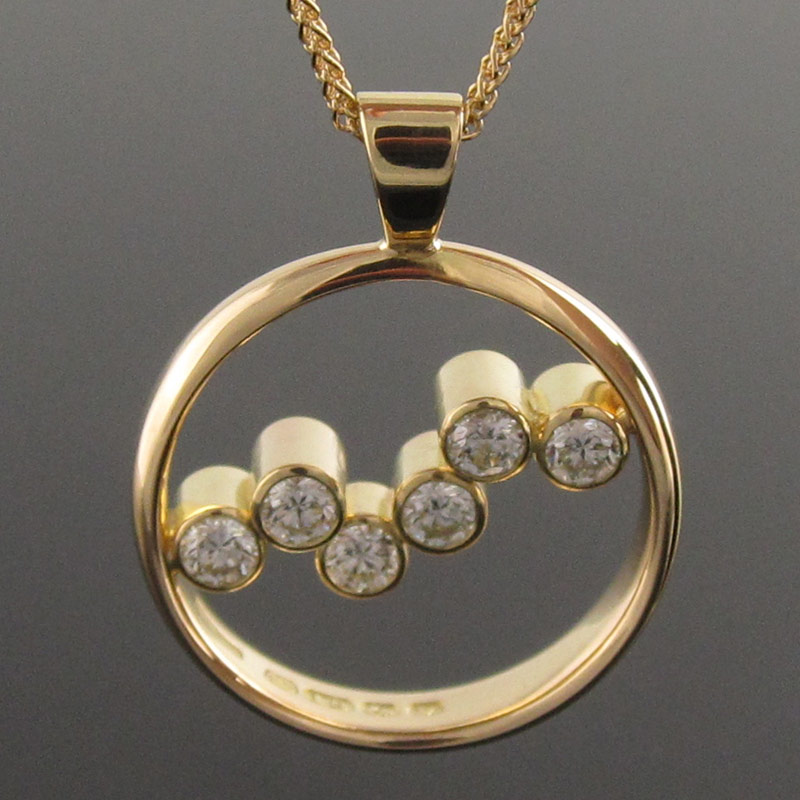
Meanwhile in the blue corner Gillian had three sapphires given to her by her mum which she wanted to include within the circular form. The three stone combinations weren’t quite doing it for her so we added some empty gold tube to the mix to create a more dynamic piece. As you can see the finished arrangement plays with different size empty spaces offset by that beautiful sapphire blue.

Recycled yellow gold and blue sapphire circle pendant

Recycled yellow gold and blue sapphire circle pendant

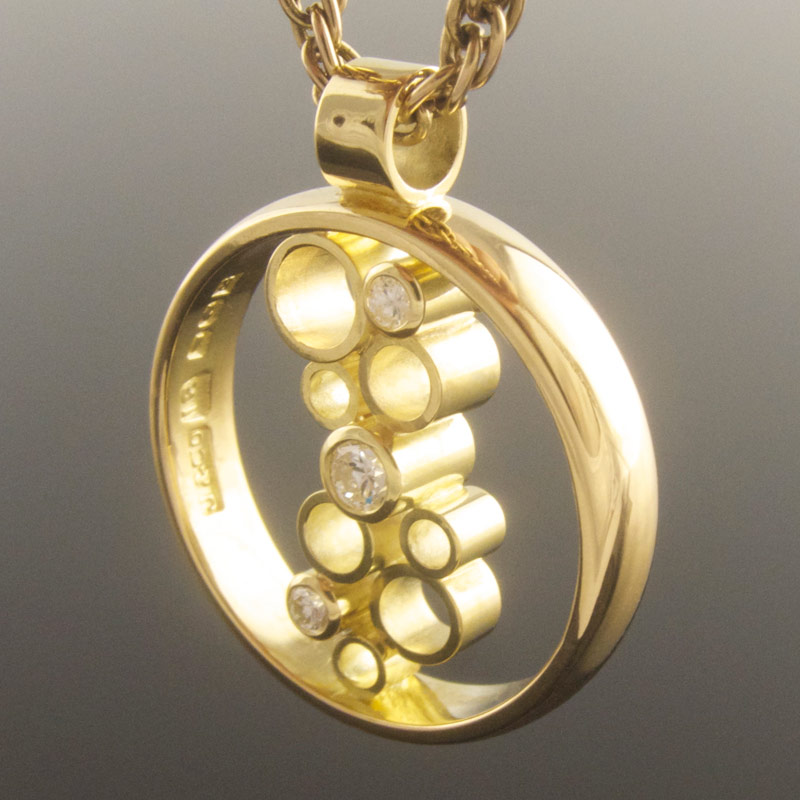
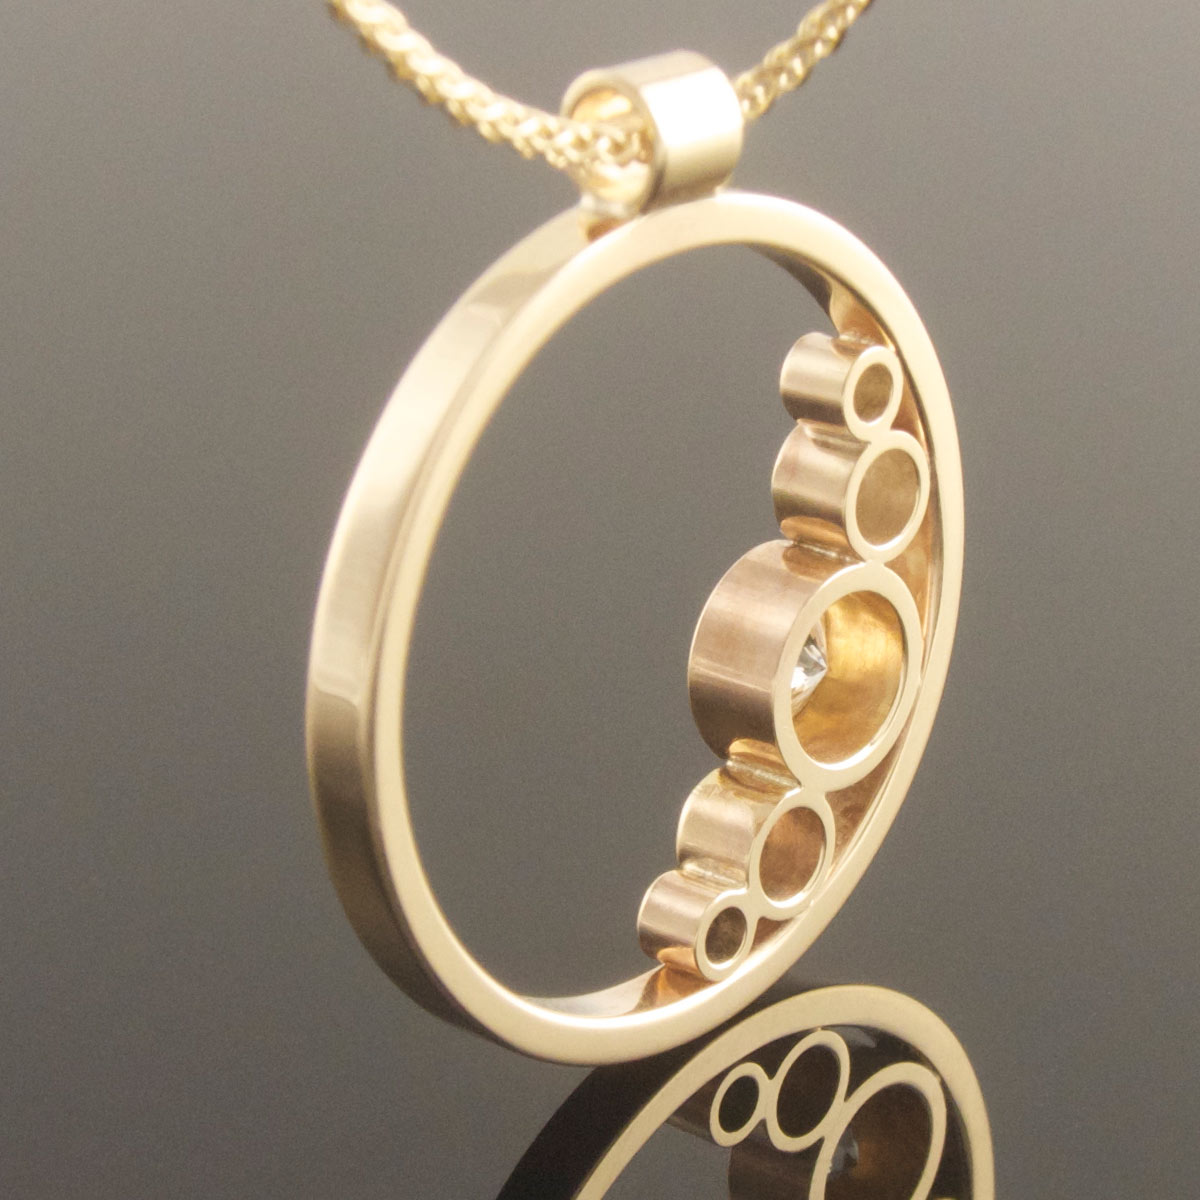
I couldn’t resist including a picture of the reverse of this pendant which I find almost as pleasing as the front.

I couldn’t resist including a picture of the reverse of this pendant which I find almost as pleasing as the front.

If you've a project you'd like to discuss why not give me a bell on 0877956321 or email me at evadorney@gmail.com

Meantime feel free to share OR press the little icon below to be showered with hearts!

Circle pendants

Over the last number of years my little circle pendant has proved popular time and time again. It seems I always have one of these little guys on the go. Whether made from new material or grandma’s wedding ring the simple circular form is hard to beat. It lends itself to a single stone or multiple stones depending on what you have in mind and can be as simple or as spangly as you like. It also can range in size from a €1 coin to a Digestive biscuit, well maybe a Jaffa cake - not too many rappers knocking round the Arbour.

I thought it would be nice to create a gallery dedicated to this versatile little pendant so below are a number of circle pendants that I’ve made in the past and will keep adding to in future - one on the go even now.

If you have your own project you’d like to discuss whether that’s using old gold or stones you have yourself or creating something new from brand new materials and stones feel free to get in touch by phone on 0877956321 or email evadorney@gmail.com

Remodelled emerald cut emerald dress ring

Jessica and I met at a fair and she subsequently dropped me a line to see about remodelling a "little" antique emerald ring that had belonged to her grandmother. When we met up the emerald was scratched and chipped from years of continuous wear so the first thing I suggested before we settled on any design was to send the stone off for repolishing to see just what we were dealing with.

Original 18ct and platinum ring with chipped and scratched emerald

Original 18ct and platinum ring with chipped and scratched emerald

My hunch was right and what we received back was a truly stunning emerald cut emerald with great life and sparkle as well as a really beautiful colour. Seeing this newly transformed stone Jessica didn't want to stray too far from the original design, however it was important to her to get rid of the gappiness between the accent diamonds and to create a refined, low mount.

I did up some drawings of what we'd discussed and took them to be transferred on to a CAD file. Renders were exchanged and with a little tweaking the design was completed and ready to be cut directly from wax. This model was then cast in 18ct white gold, assayed and cleaned up in readiness for setting.

Above are CAD renders and pics of the actual 18ct casting before it's cleaned back

Above are CAD renders and pics of the actual 18ct casting before it's cleaned back

The finished emerald ring is similar to the original, but with a weightier shank more suited to a modern lifestyle and that gappiness I mentioned has been banished by employing shared claw settings on the shoulders. The shank is broader and heavier at the back where it will receive most wear, but tapers elegantly towards the setting creating a refined look and the once jaded emerald has been repolished and reinvigorated making this little stone the belle of the dress ring ball.

18ct white gold emerald and diamond ring

18ct white gold emerald and diamond ring

If you have project you'd like to discuss please feel free to drop me a line at evadorney@gmail.com or give me a tinkle on 0877956321.

Meantime if you liked this blog feel free to share OR press the little icon below to be showered with hearts!

Natural ruby engagement ring from recycled gold

I have been very remiss in my posts here lately, but rather than start from where I left off I intend to jump forward in time and tell you about a recent engagement ring remodel that is now adorning one happily engaged finger.

Ruby engagement ring remodel

Nuala and Caolan approached me before Christmas to see whether I could take some of their old gold and turn it into their wedding rings and also source them a ruby for Nuala's engagement ring. Happily they were in no rush so I suggested I would source the stone in Germany while at the Inhorgenta trade fair in February - the selection of stones there is second to none and as it was important to them that the stone be ethically sourced this allowed for a more vigorous questioning of suppliers!
Initially I was tasked with finding a deep red ruby similar in size and shape to that of my own emerald cut diamond engagement ring, however finding said stone proved more difficult than imagined and so we widened the search to include larger oval rubies too! There was a bit of toing and froing before we settled on a real beauty from Tanzania weighing in at a hefty 1.82cts.
A spot of wax carving

A spot of wax carving

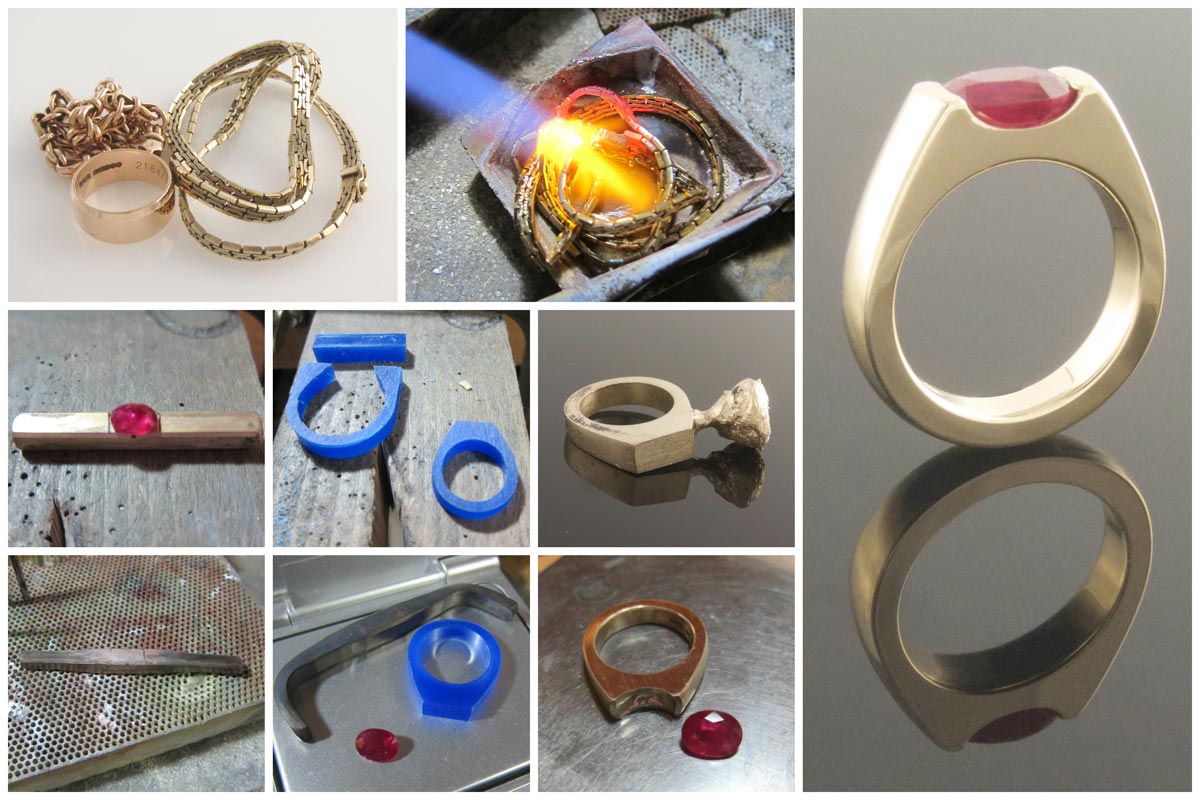
The change in shape and size of stone meant a slight rejig of the overall ring design making it curvy rather than angular and indeed quite a bit heavier than originally anticipated. When I got back to the workshop I set about melting enough metal to make the ring and started to forge out the shape using the rolling mills.

However, as is sometimes the case with remelted metal, the resulting nugget was incredibly hard and unbending so having enlisted Dave's help in a vain attempt to bend it I had no choice but to reconsider how it would be made and start carving a wax model from which to cast the ring instead.

The trick to creating a symmetrical design in wax is to lay out guidelines before removing any wax and thereafter to reestablish the guidelines as you go. Wax is much faster to work than metal so it is very easy to go too far and remove too much material, but I'd recommend giving it a whirl if you're at all crafty.

Ruby solitaire engagement ring

Ruby solitaire engagement ring

The blue wax master was then sprued before undergoing a lost wax casting process during which the old gold was melted and poured into the ring shaped cavity left by burning out the wax. It's always necessary to use more metal than required and you can see a big nugget of additional metal on the side of the ring which has since become a matching wedding band.

There followed a spot of assaying, sprue removal, emerying and polishing before the ruby was ultimately set across the finger to create a lovely contemporary ruby engagement ring.

If you have a project you'd like to explore please feel free to drop me a line here or pick up the phone and give me a bell on 0877956321.


Bespoke and remodelled gold and diamond jewellery

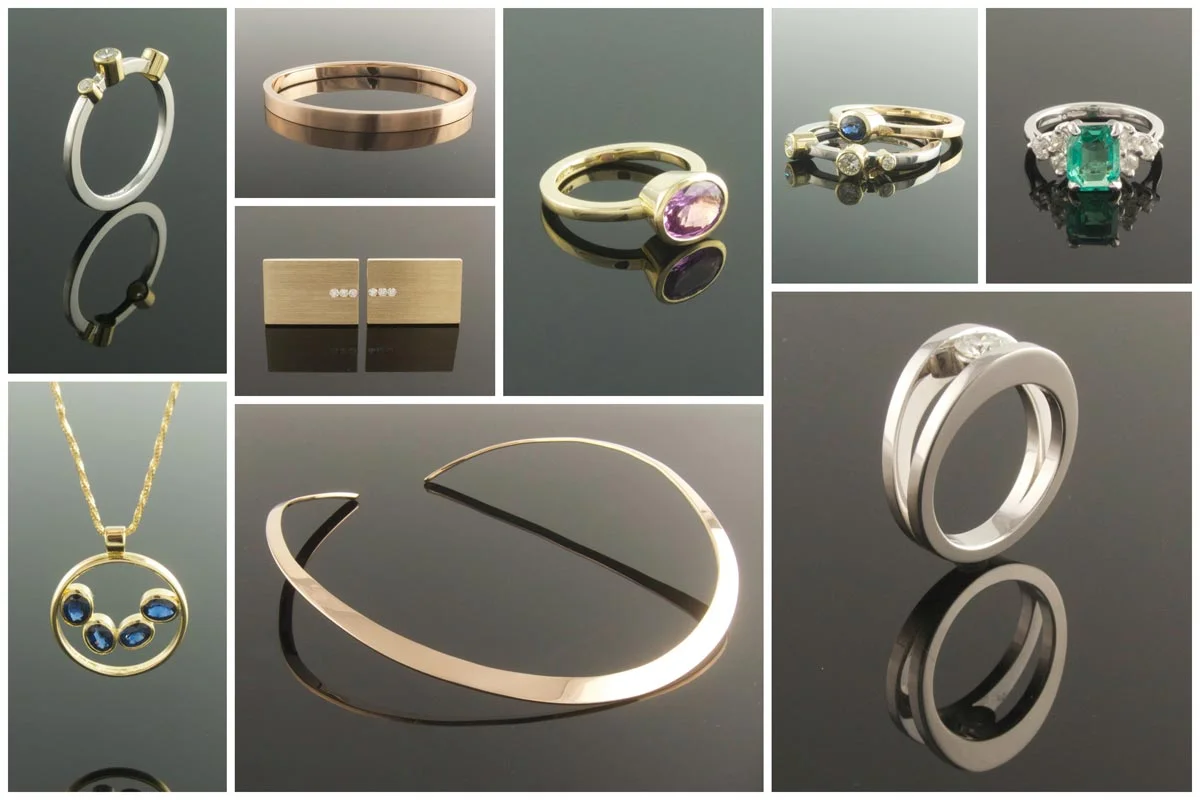
It has been such a hectic month with collections reaching fever pitch in the last few days! I'm off  to Croatia for a little holiday this morning, but fear not, my good buddy Carol will be manning the store while I'm gone and I've created a little collage of the gorgeous jobs I've been working on just to whet your appetite for when I return!

Engagement rings, pendant, torc, bangle and cufflinks made from new and recycled materials

Engagement rings, pendant, torc, bangle and cufflinks made from new and recycled materials

Recycled yellow gold and emerald pendant

Gold and emerald pendant remodel

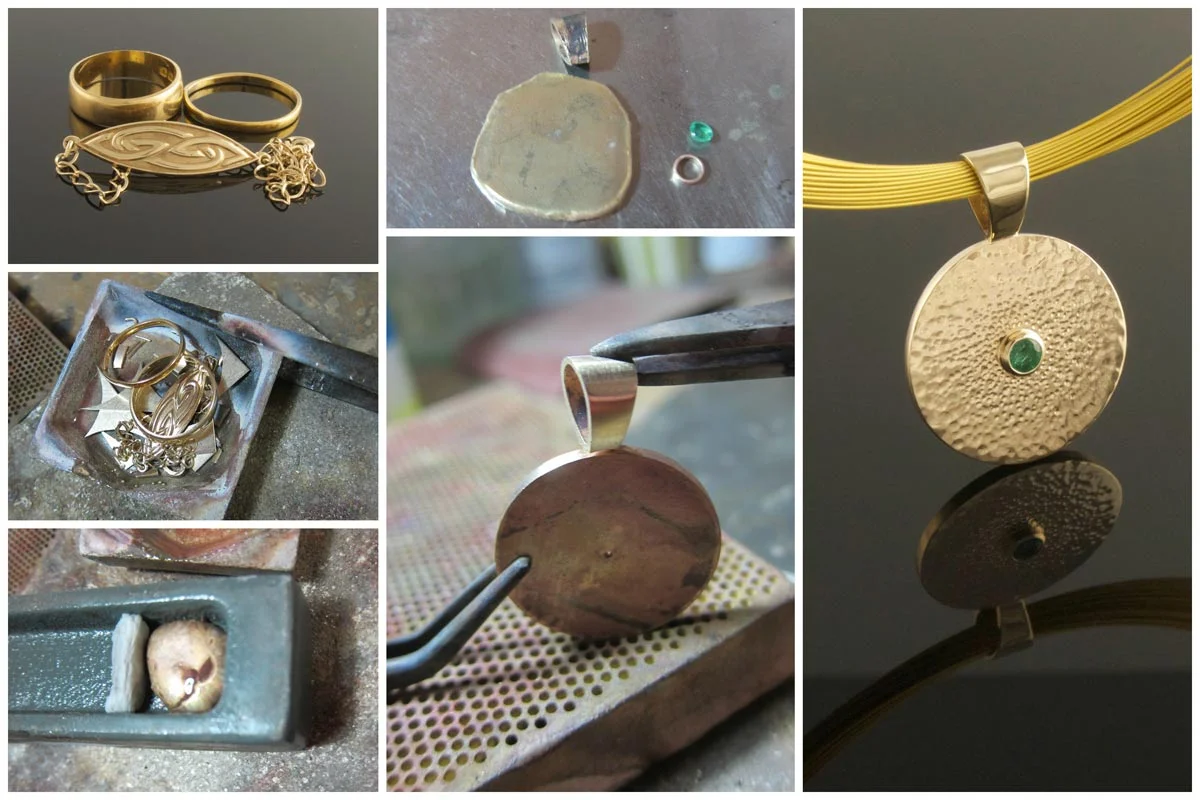
When Sarah contacted me she had a lovely thick 18ct ring and another broken 22ct wedding band that had been passed down through her boyfriend's family. She also had a little gold bracelet of her own and a great desire to make him a very special pendant for his 40th birthday. Originally the design included the spiral of life with an emerald at it's centre for abundance, but a little redesign brought us to setting the emerald in the centre of the circle like before, but with a six pointed star on the reverse - again symbolising abundance.

The original gold rings pictured at the top and the new gold and emerald pendant pictured below

The original gold rings pictured at the top and the new gold and emerald pendant pictured below

There wasn't quite enough metal to make a disc large and heavy enough as things stood, so we decided to add an a further 6g of 9ct yellow gold to the mix just to bring up the weight. Some of this additional metal went to make the bale and the setting before the rest went into the pot to be melted.

Usually the ingots of gold are long and rod shaped but on the flip side of the ingot mould there is a wider opening for making small amounts of sheet metal. Invariably it comes out lumpy and uneven but as usual the trusty rolling mill flattened out the bumps and pressed the gold into submission!

From this knobbly little sheet I marked and cut out a generous disc and started to work assembling the bale and setting which you can see just held in tweezers midshot. I seem to have forgotten to take any further photos and suddenly we have the finished piece! Roughly speaking I hammer textured the front of the pendant before setting the emerald and then sending it off to be engraved with the six pointed star on the reverse.

Sarah planned to give Jason his gift at the top of Croagh Patrick but while they climbed the Reek she hadn't the heart to make him wait for his pressie!

If you have a project of your own you'd like to discuss please feel free to drop me a line here or give me a bell on 0877956321

Sapphire cluster engagement ring

In February 2012 when Eoghan called me to say that he was going to propose to my best friend my emotions were all over the place. Delight at the good news, fear at the responsibility of making the ring and more than a little nerves about keeping this secret -  I'm not usually yacking away on the phone to my customer's intended! Our exploratory wander through the jewellers in town revealed one thing - that neither of us had a clue of the kind of ring Neidra would want. We looked at modern, at antique, at classic and at contemporary but soon realised we'd have to call on Neidra herself if we were ever to get it right.

Eoghan proposed later that year and having tried on a multitude of styles they came back to me to make this vintage inspired, but really rather modern sapphire engagement ring.

Making a platinum, diamond and blue sapphire engagement ring

Making a platinum, diamond and blue sapphire engagement ring

Quite simply it never rains, but it pours and at the time I was making Neidra's ring I was also making Louise's so these two girls are forever linked in my mind. As an aside they have both had their first babies in the last couple of months so more congratulations are in order.

Down to the making - The first task was to order enough material for both rings and then lay out the setting on the large flat piece of platinum. I used the round wire to turn up the bezels for both rings and pierced our a gap within which the belly of the stones would fit. Next I made the swaged shanks on which the settings would sit. The rough ring was cleaned back to a nice tapering, but flat surface and then a groove cut to accommodate the belly of each stone. At this point every thing was given a good polish and then soldered together. Then came the small matter of setting the sapphire and the diamond before sending both rings to be pavé set with tiny diamonds.

If you'd like to discuss a custom project please feel free to drop me a line, meantime you can see more handmade engagement rings here.

Twisted sapphire and aquamarine ring

Diamond encrusted gold ring

Diamond encrusted gold ring

This is the second ring that I've made for Mary, though we have yet to meet in person. Last time it was a lovely remodelled gold tapering band punch set with diamonds that incorporated her old engagement ring amongst other things. It worked out well and Mary was left with another lump of metal to plan a future project.

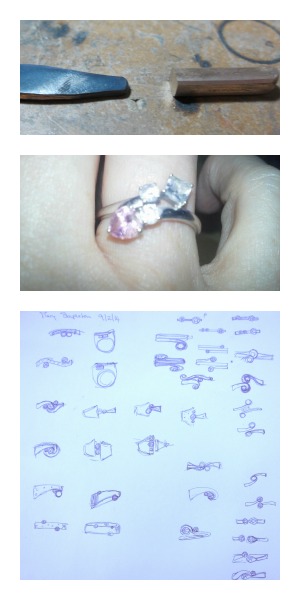
Inspiration and drawings

Inspiration and drawings

The piece on the left became the diamond encrusted ring while the piece on the right rested in the drawer for another year before being duly reimagined. The design was loosely based on a twisted ring her children had given her which incorporated their birthstones. We moved away from the heart and princess shapes toward the idea of a pear shape and a round and when I was stone shopping in Germany I kept an eye out for a sapphire and an aquamarine which would reflect the gentle colouring of the original ring, 

When we think of sapphire it's Kate Middleton's deep blue engagement ring that comes to mind, but sapphires come in all sorts of shades from gentle greens through cerise pinks through yellows or in this case purple. They are the next hardest stone to diamond and the only real alternative for every day wear. Their breadth of colour and sparkle makes them one of my favourite stones.

Recycled gold sapphire and aquamarine ring

Recycled gold sapphire and aquamarine ring

Twisted sapphire and aquamarine ring

Twisted sapphire and aquamarine ring

The first step in making this twisted ring was to make the settings. I rolled down the remaining bar into a long flat wire and turned it up in the round and pear shaped settings. I then melted that material again to create the bar for the shank. Again to the rolling mill to form a tapering length of wire which was turned up in to the ring. It was then a question of gently manipulating the curve of the metal to suit the curves of the settings before soldering all the pieces in place. With that done all the surfaces needed an emery and the inside of the settings were polished to make them as bright and reflective as possible before setting the stones.

And there you have it, a twisted sapphire and aquamarine ring made from recycled gold.

If you liked this post and you're on pinterest feel free to pin and don't forget the little heart button on the right explodes when pressed!

Handmade 18ct yellow gold sapphire engagement ring

I first met Dervla and Denis back in February of this year when they approached me about making their engagement ring. They were looking for a simple yet confident ring, suited to architect Dervla's aesthetic. Having done a little homework she had her heart set on a nice big deep blue sapphire and as luck would have it I was headed to one of the biggest jewellery trade fairs of the year in a matter of days. No better place to find just the stone!

With a budget in mind I spent quite a while seeking out a sapphire with the perfect balance of colour, sparkle and scale. There were phone calls to and fro describing the three front runners and numerous return visits to all three. I had mistakenly thought I could take snaps on my smart phone to help inform the decision, but flourescent lighting is no friend to photography and the results were mixed at best! Nonetheless we came to a decision between us and I returned to Ireland with nerves in my belly hoping that Dervla would love her new sapphire - happily she did and on her next trip back from London there was a silver sample ring to try. With that viewed and agreed it was time to order the metal and start work on the engagement ring proper.

Making a sapphire engagement ring

Making a sapphire engagement ring

As you can see it started out with just three elements, the sapphire, a length of 18ct yellow gold bar for the shank and piece of sheet from which to make the setting. First of all I made up a tapering round setting from the sheet and formed it in to an oval to match the curve of the sapphire. Next I made the 2.5mm wide shank and removed a section where the solder seam was to accommodate the oval setting - no point having more seams than necessary. The two elements were then soldered together and dropped to the assay office in Dublin city to be tested and stamped. With that accomplished it was time to clean up the ring, remove any scratches and prepolish the inside of the setting. I then created a seat for the sapphire by removing metal from the inside of the bezel and pushed the yellow gold down onto the stone to hold it. A last polish and a little directional emery applied to the shank and that was that!

Hand made sapphire engagement ring

Hand made sapphire engagement ring

Dervla and Denis were back in town last weekend and came to collect. Impressively Denis had refused to see a picture of the ring before the big day preferring to "wait until I see it on Dearbhla's finger". I'm pleased to report that they left a very happy couple and that there may or may not have been tears!

Handmade peridot engagement ring

First things first...Yvette and Jay live in London and ordered their engagement ring via correspondence! You have no idea how impressed I am with them for taking such a leap of faith. They had come across my work over on One Fab Day and picked up the phone to place their order.

In the absense of a face to face meeting Yvette and I chatted about the shape of her hand, about skin tone and about the kind of work she does. That last one may seem strange, but lifestyle can really impact your choice of metal and stone. As she didn't intend to wear her engagement ring every day the whole range of gemstones was available to her including this relatively soft peridot which just so happens to be Jay's birth stone.

Handmaking a peridot engagement ring

Handmaking a peridot engagement ring

The top left image details the raw materials - two pieces of gold, one long for the shank and one wide for the setting and the lovely green peridot. First the wider piece was turned up into a conical bezel setting and then the longer length of gold into a ring. The two pieces were then fitted together via a series of cutting, filing and offering up the setting to the gap in the ring. When they fit perfectly they were soldered together with a little excess setting protruding. This excess was filed away before emerying and cleaning up the ring to take the peridot.

Handmade peridot engagement ring

Handmade peridot engagement ring

And here we have the finished ring which the guys flew in to collect one Monday morning. They are planning their wedding here in Dublin later this year and I wish them both the very best!


Contemporary gold dress ring remodel

Gold for recycling

Gold for recycling

What do you get the woman who has everything? This was the dilemma facing Gina and her sisters with their mum's 60th birthday fast approaching. It turns out mum Doreen had a number of old pieces including a 9ct yellow gold ingot which she no longer used and when she visited with me she told me how much she had always wanted an emerald ring. I didn't have any emeralds to hand, but no matter. She set her sights on this gorgeous green tourmaline cabochon and together we designed a simple if sizable contemporary dress ring.

Bezel set green tourmaline dress ring

Bezel set green tourmaline dress ring

The old gold was melted into an ingot and then recycled into a 3.5mm shank and heavy oval bezel setting. Both pieces were soldered together and the tourmaline set into this striking piece with the yellow gold accentuating the green tourmaline beautifully. One new ring for the birthday girl and enough gold left over for another little project in the future.

If you liked this post you can Link it, Pin it, Book it, Tweet or Tumble it using the grey share button to your left!

Recycled gold drop earrings with imperial topaz

When we first met, Isobel had a gold necklace that didn't fall quite right, along with some other little bits of gold jewellery and an array of stones. There was no shortage of possibilities, but a pair of faceted oval topaz stood out amongst her collection of gems and we plotted to make a dressy gold drop earring with a little movement to catch the eye.

Recycling an old gold chain into a new pair of gold and topaz drop earrings

Recycling an old gold chain into a new pair of gold and topaz drop earrings

Here's the new bracelet and a bar of gold made from the rest of the chain

Here's the new bracelet and a bar of gold made from the rest of the chain

As you can see from the scales we started out with 14g of gold which is well in excess of what was needed to complete this project so you'll be glad to hear that the troublesome necklace became a not so troublesome bracelet before the balance was melted.

Earrings like these require a number of different gauges of metal so I melted the gold into different little nuggets to create the bar for the stem, the flat sheet for each setting, not to mention the tiny little jump rings that would make the earrings bob. Each nugget was in turn milled and formed before being soldered together. The topaz were then set and everything was given a good polish before finally bending the stems into a dramatic hook.

If you liked this post embrace the little grey heart to your right!